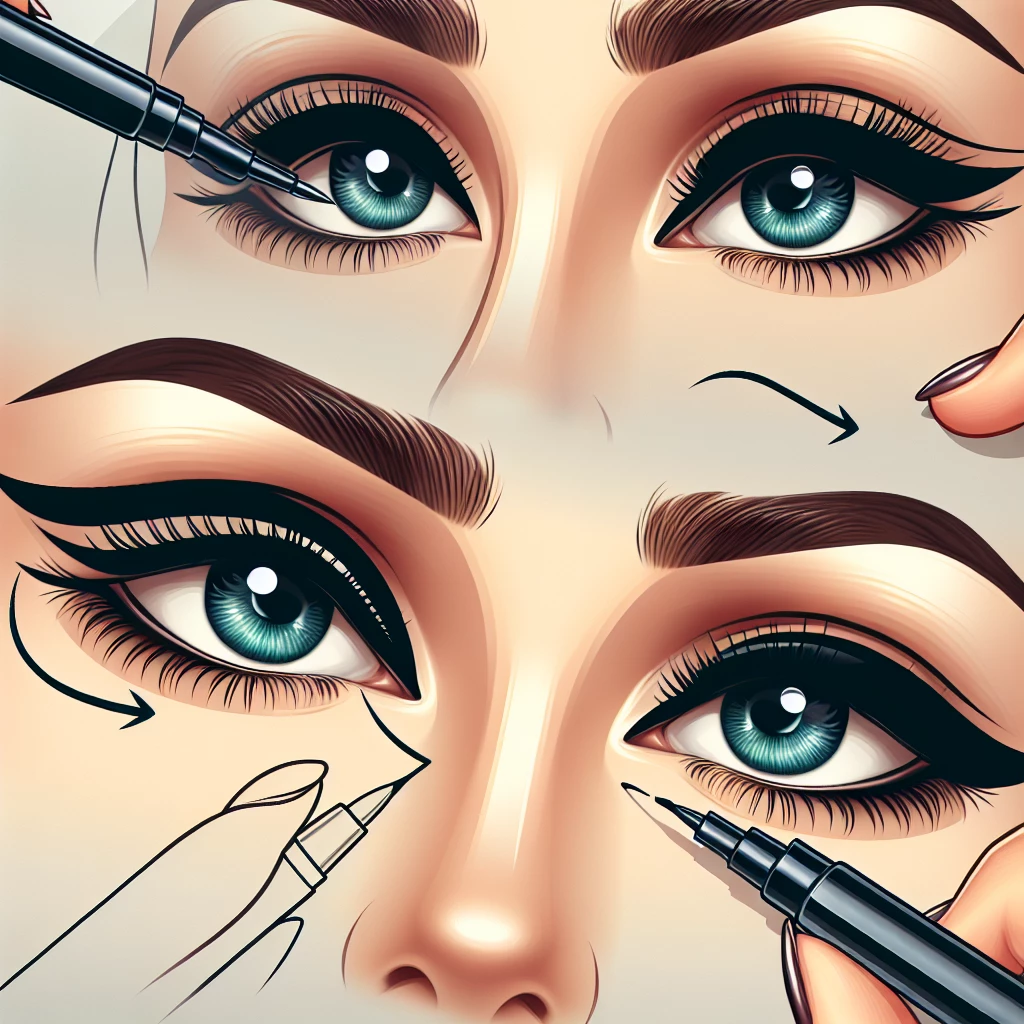
Creating the perfect winged eyeliner can feel like an impossible task. From getting even wings on both eyes to achieving the correct angle, it seems like there are a million things that can go wrong. But fear not, with some practice and the right tips, you can master the art of winged eyeliner. The first step is to choose the right eyeliner. Liquid eyeliners are the most common choice for this look, but you can also use gel or pencil if you feel more comfortable. The key is to find an eyeliner that dries quickly and won't smudge throughout the day.
To begin application, start by drawing a thin line from the inner corner of your eye to the outer corner. Keep your eye open and follow the natural curve of your eye. For the wing, aim the liner towards the end of your eyebrow. This will help ensure your wings are going in the same direction. Draw a line from the outer corner of your eye towards your eyebrow, but stop about halfway there. Then connect the end of the wing back to your lash line, creating a triangle. Fill in the triangle with eyeliner, and repeat on the other eye.
The final step is to clean up and perfect your lines. You can use a cotton swab dipped in makeup remover to gently erase any mistakes. If your lines aren't as sharp as you'd like, you can also use a bit of concealer on a small brush to crisp up the edges. Finish off your look with mascara to make your eyes really pop. And remember, practice makes perfect. Don't be discouraged if your winged eyeliner doesn't turn out exactly how you'd like the first time. With some patience and perseverance, you'll soon be creating perfect wings in no time.
